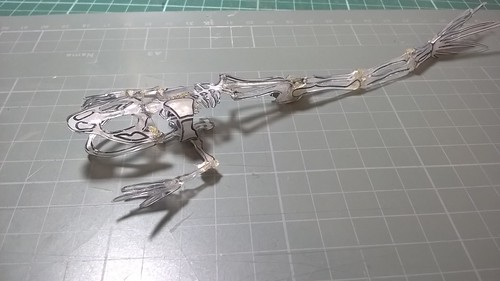
熱縮片的青蛙骨骼標本
去年五月在自然與生物創作分享討論區看到家進老師發表一篇文章是他學生蔡孟華以熱縮片製作了蛙骨標本,看了覺得非常佩服,於是乎起而效尤,跟著做了一個。
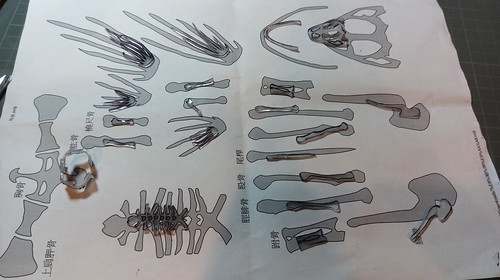
在臉書的那篇文章裡頭,作者有提供製作的原稿。而我自己製作的時候,也自己重新畫了一份,可以在雲端硬碟裡下載到這個檔案。
https://drive.google.com/folderview?id=0Bzwhi7Oh9a5ZMENHQVRTTVU5UW8&usp=sharing

製作的過程,如果不熟悉蛙骨拼圖的,可以參考3D Frog Skeleton這個App,可用來理解蛙骨的立體結構。
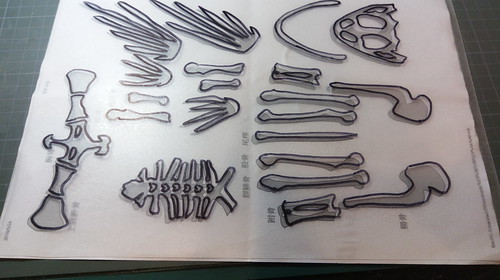
取得熱縮片後,用筆將蛙骨的形狀描繪在熱縮片上
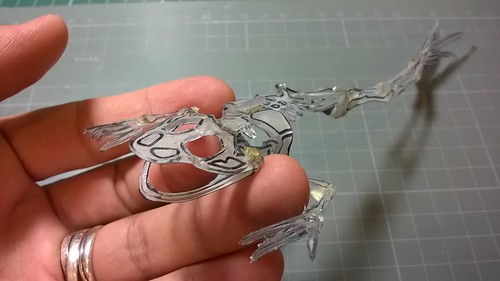
接著將熱縮片剪下後,用熱風槍或烤箱加熱使其縮小,在製作頭骨和肩帶的時候,我特別利用加熱時熱縮片尚軟的狀況,將其折成我要的形狀。
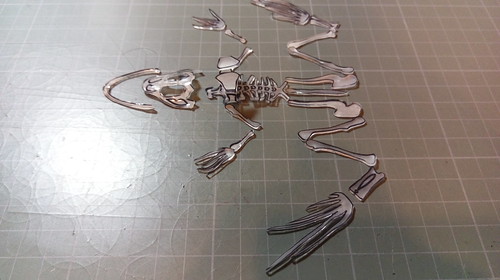
和原圖對照,可見縮小約50%
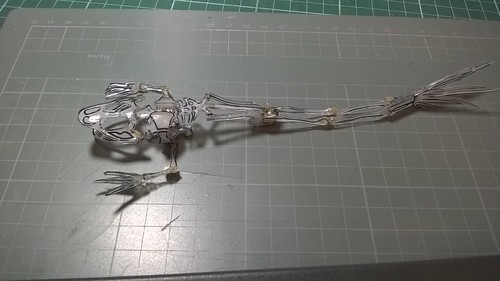
我使用塑膠接著劑來黏接骨頭,這是想做成跳躍的形狀,但是沒放上支架。